Clusive Quick Start for Parents & Caregivers
Welcome to Clusive®!
We’re excited to partner with you to support your student to discover strengths, interests, and tools that will best help them reach their learning goals. Here are a few quick steps that will help you and your students get the most out of using Clusive.
Step 1: Watch the Clusive Overview Video
Step 2: Sign Up for Clusive
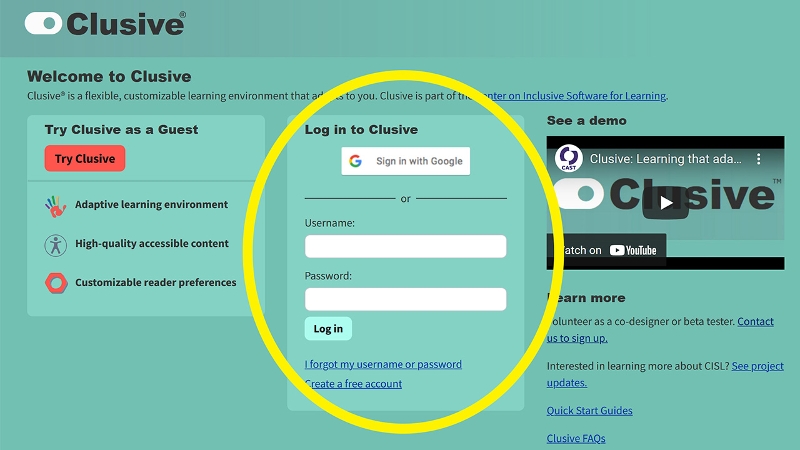
To create an account
- Go to our login page and sign in using your Google account. Or, click the Create a free account link. Fill in the required information.
- Complete your registration by responding to the email sent to you by Clusive.
Step 3: Log in, create a class, and add your student

Create a class
Even if you only have one child using Clusive, you need to create a class first.
- On your Dashboard, click the Manage link at the top of the page.
- Click +Add Class
- Name this class period. Note: students added to this class will see the class name
Add your student
- After you have created a class, you can add your student to the class.
- From the Manage link, go to a class.
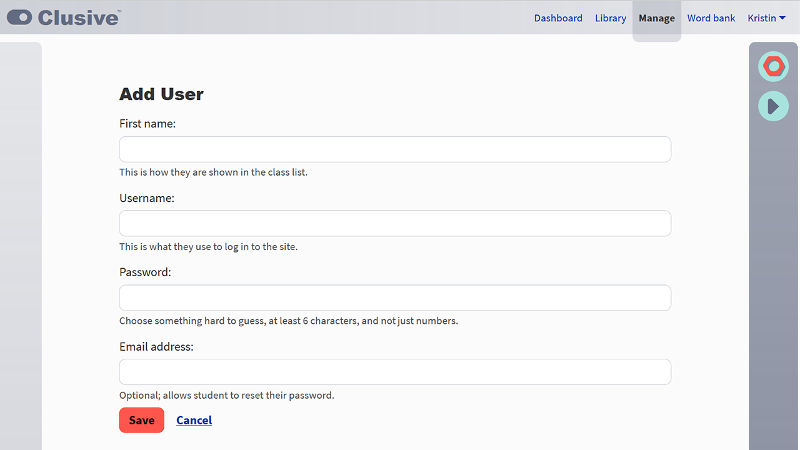
- For each student
- Click + Add Student
- Fill in the required information
- Click Save
Step 4: Review the Clusive Library and assign titles with classes
Go to the Clusive Library
- Look through the items in the library.
- Filter the library by clicking Show filters and selecting topics or word counts.
- Use Search to find specific authors, titles, topics and more.
Assign a reading with your student's Clusive class
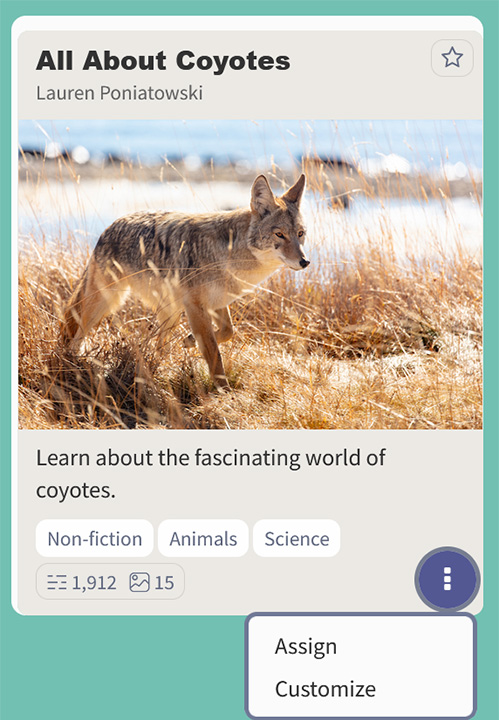
Ok, you’ve found a title you want your child to read. Now what?
- On the Library tile, find and click on the three dots at the lower right of the tile
- Select Assign
- Check your child’s Clusive class. That’s it!
All Readings, Class Readings, and Uploaded Readings libraries
- Public readings: Public content are titles added into Clusive by the project team.
- Class readings: In addition to Public readings, each class you create can have its own library of titles. Use the View pulldown menu on the Library page to see the different readings you have assigned to a class.
- Uploaded Readings: You can upload your own titles to Clusive. Use the View pulldown menu and select Uploaded Readings. Click + Add Reading and follow the steps to upload files into Clusive. You can also share these with your student(s).
Step 5: Check your Dashboard
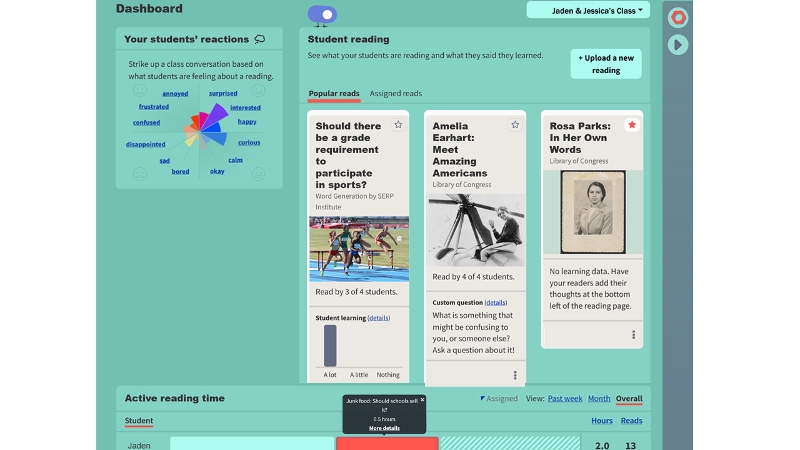
Your dashboard will show you data of what your student is doing, how they are feeling, and the most active topics and titles they have read. Click on “Details” and view how they have answered comprehension questions. In the Active reading time panel, you’ll even be able to get data on reading time, tool use, vocabulary lookups, reactions, and more.
Check your dashboard often for information on your student’s interactions in Clusive. The Dashboard can help you support and mentor your student. The more your student uses Clusive, the more they grow in skills and understanding of how they learn best.